| 12-29-2016, 05:03 PM | #1 |
|
BimmerPost Supporting Vendor
9572
Rep 10,855
Posts  |
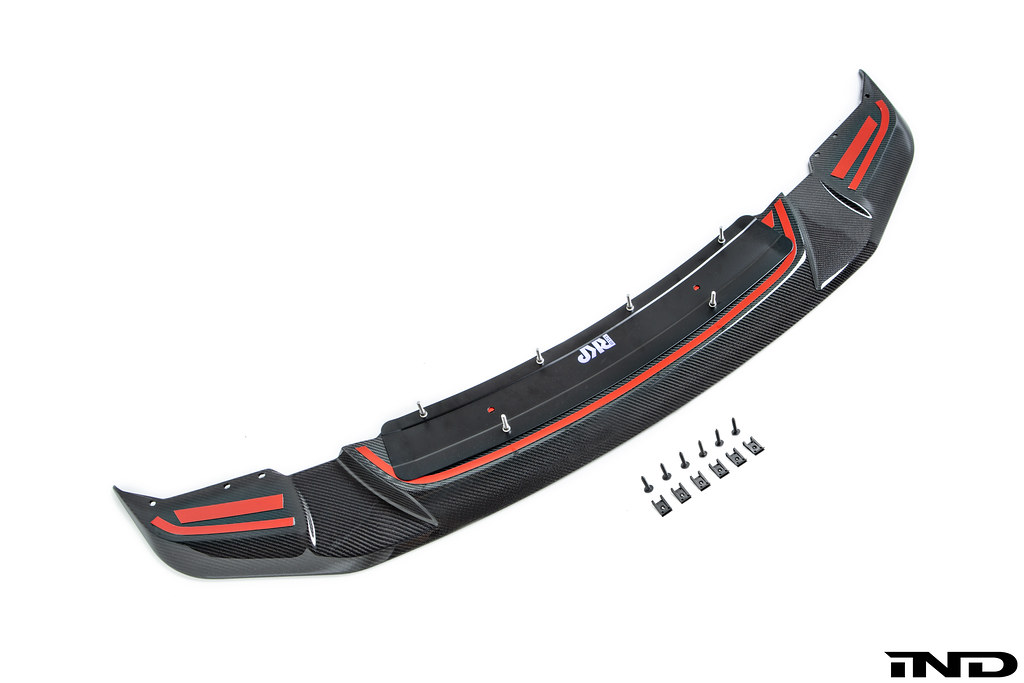
RKP F87 M2 Front Lip Install Guide
Tools required: -8mm socket -4mm Hex/Allen key socket -Masking tape Step 1: Prep the tape on the lip and reinforcement plate. On each end pull off a 1 inch section of the backing paper and apply masking tape to the ends. This will help you grip the 3M tape backing when you go to install it to the bumper.  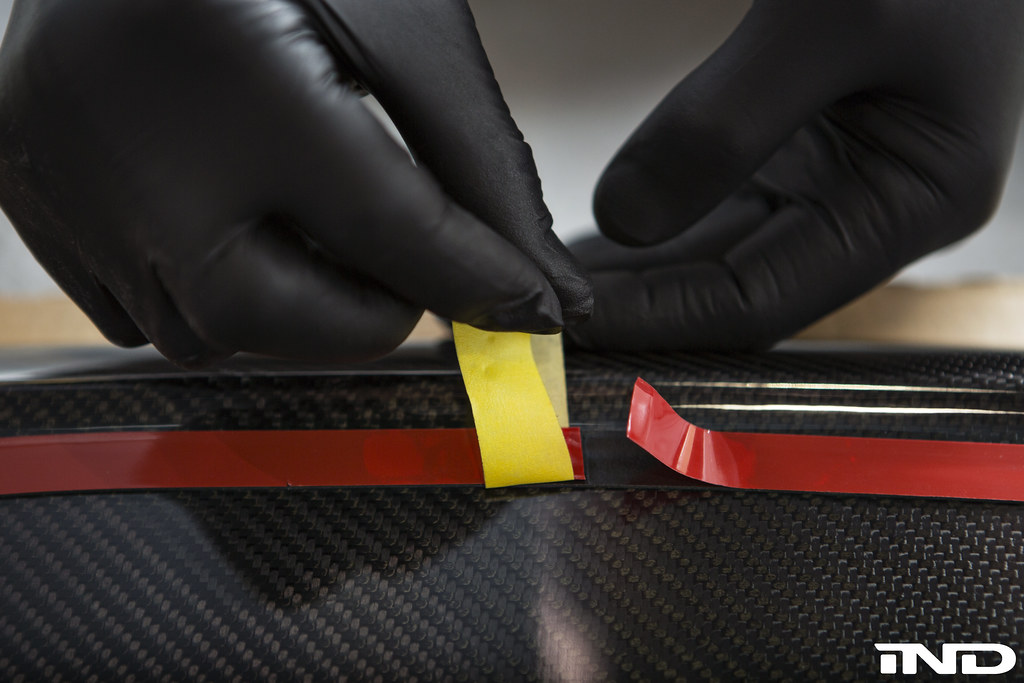 Step 2: Remove all 8mm bolts holding the stock under tray to the vehicle. 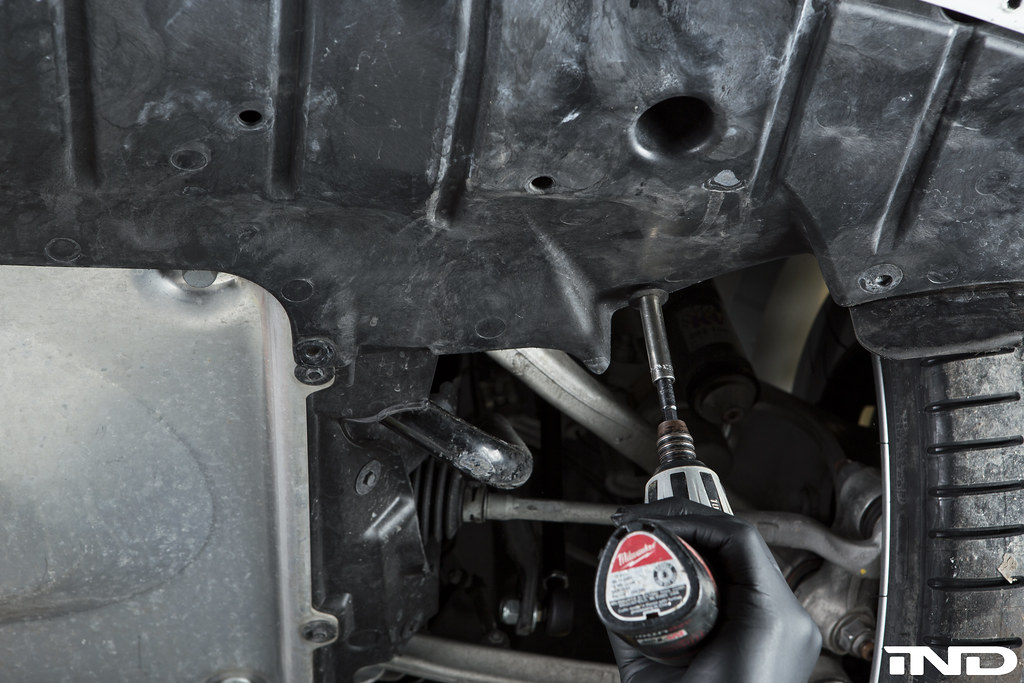 Step 3: Remove all the u-clip nuts from the under tray. 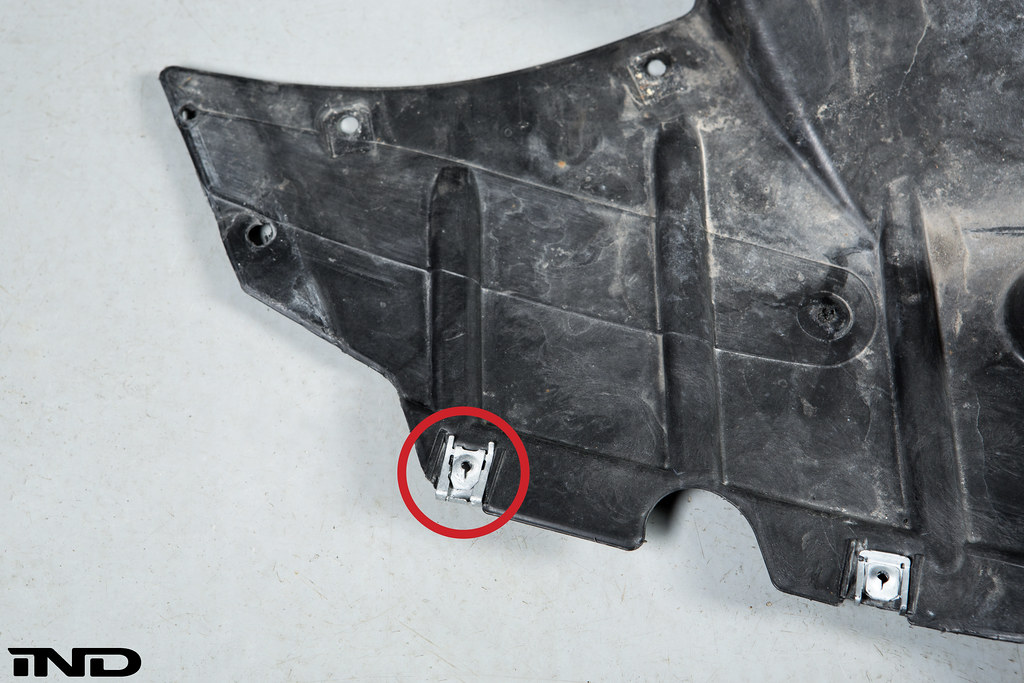 Step 4: After installing the reinforcement plate between the front bumper and the oil cooler, slip the front undertray in between the bumper and the reinforcement plate. 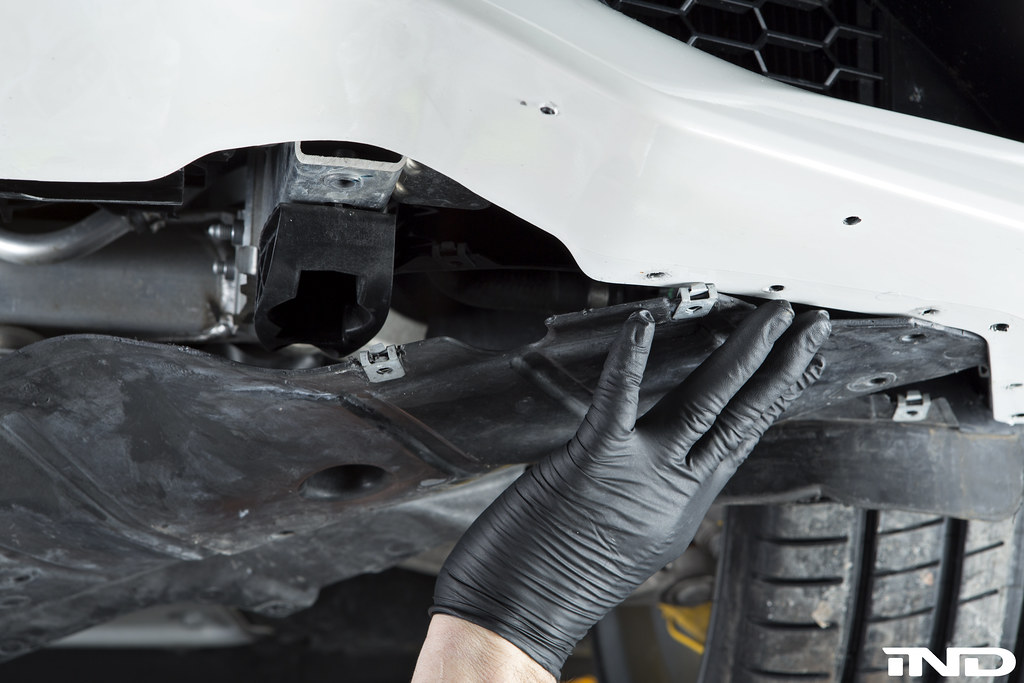 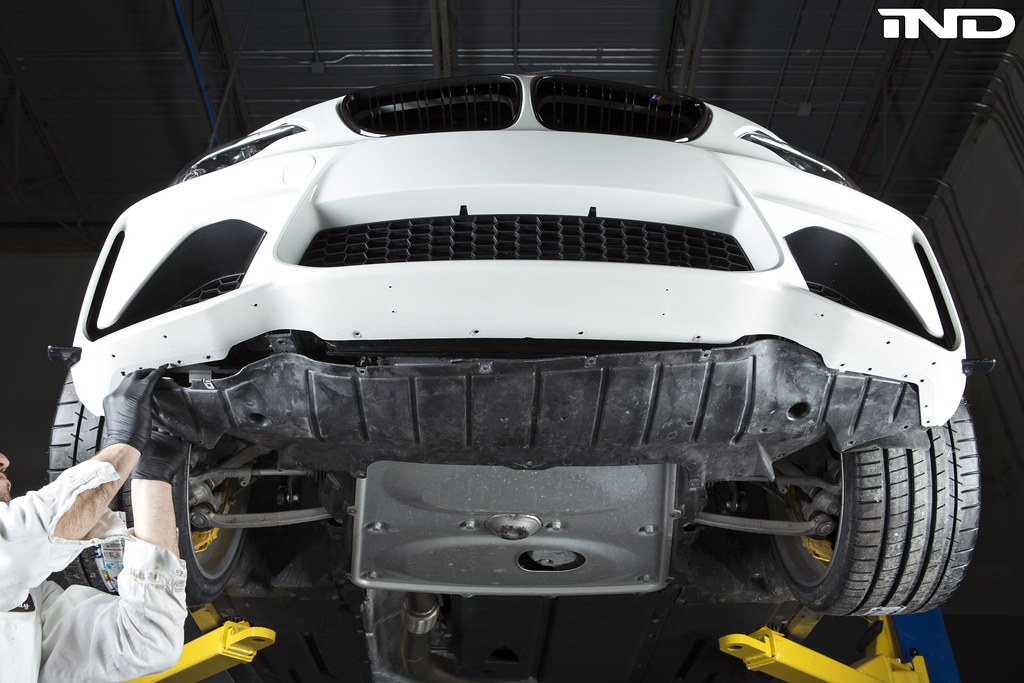 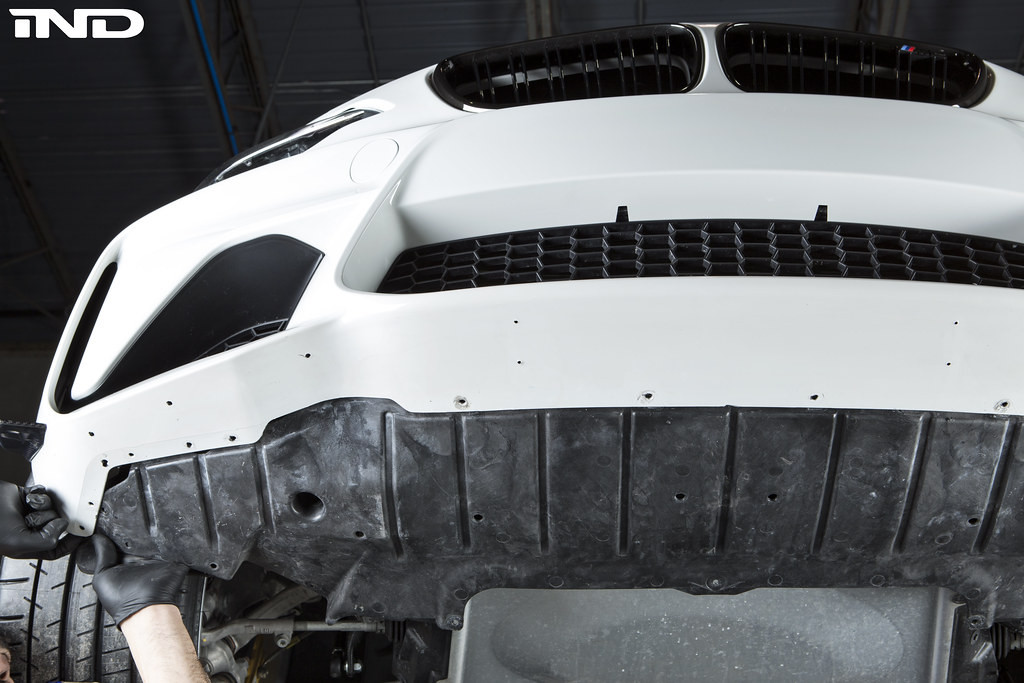 Step 5: Secure the back of the undertray to the vehicle using the OEM hardware. 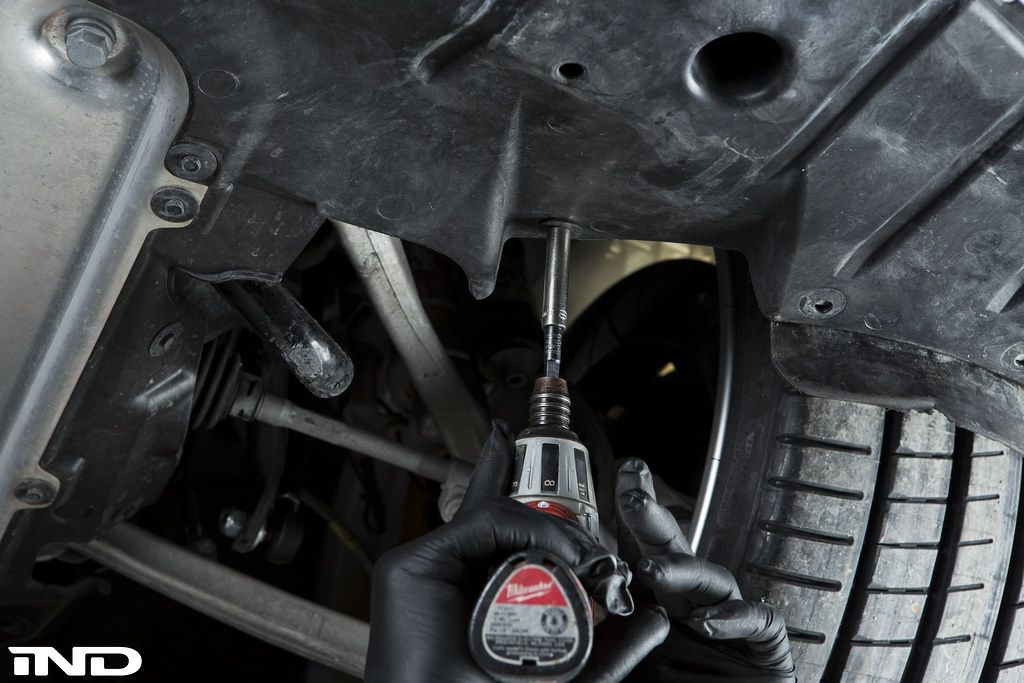 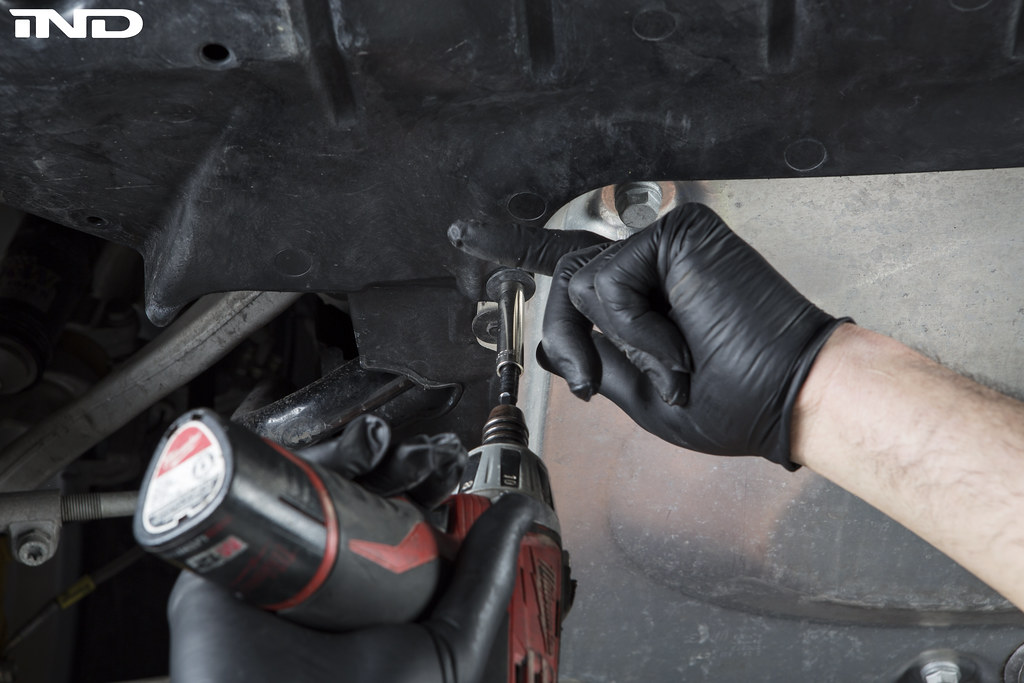 Step 6: Once the undertray is positioned properly, place the included screws through the 4 holes in the center of the upper carbon fiber lip and up through the bumper until they tap into the reinforcement plate. Leave roughly an inch of gap between the lip and the bottom of the bumper to allow for proper positioning before adhering the double sided adhesive to the bumper. 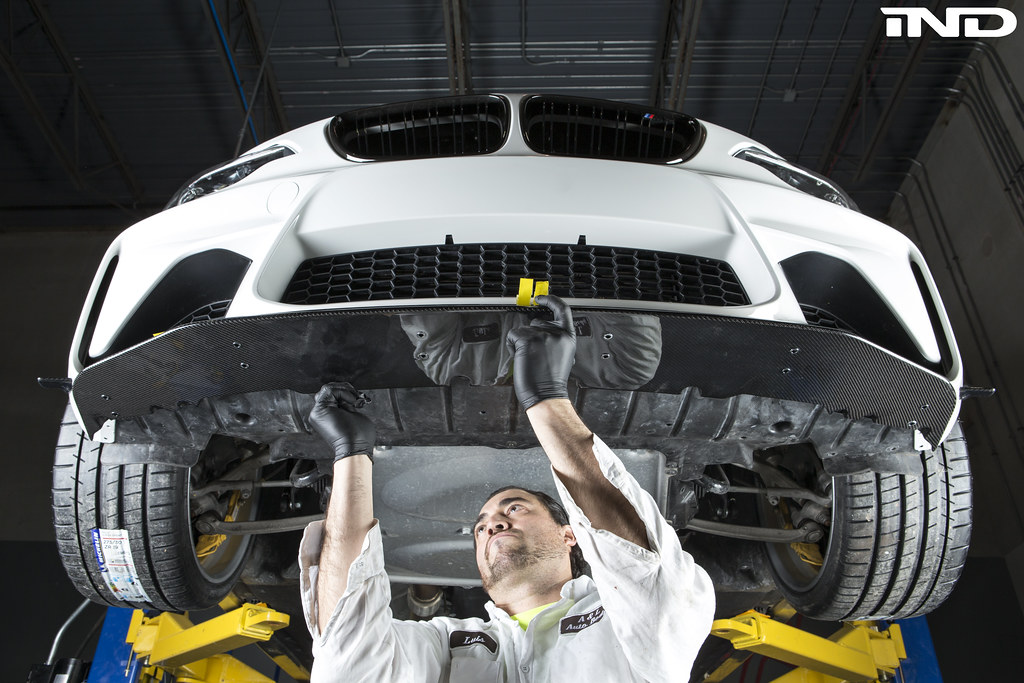 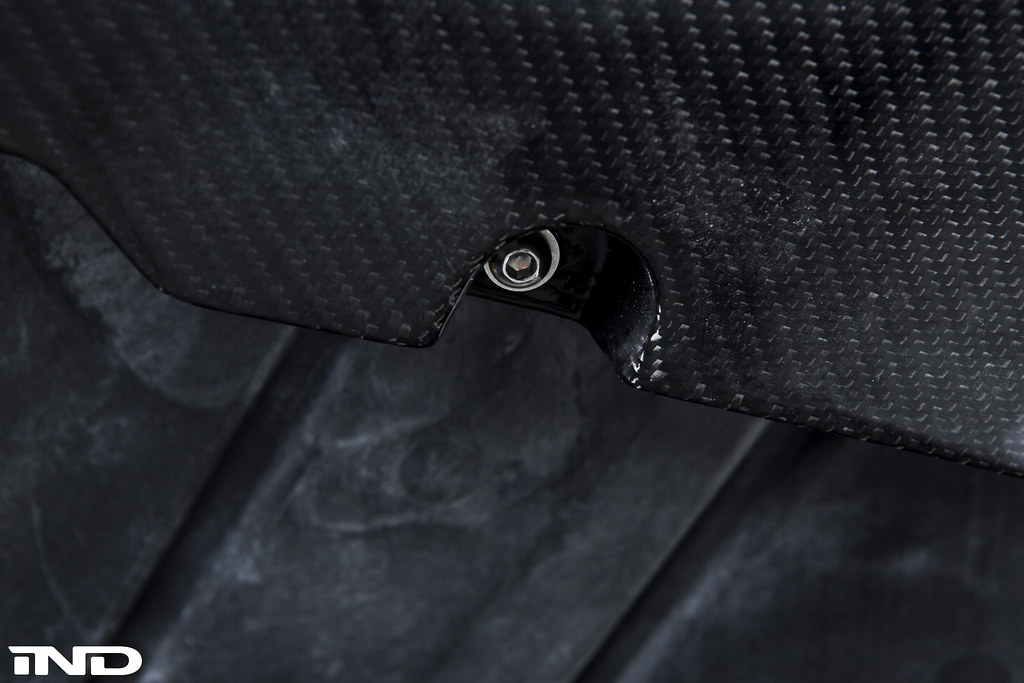 Step 7: With the lip positioned, start peeling the backing off the double sided adhesive as shown and applying pressure to partially adhere it to the bumper. 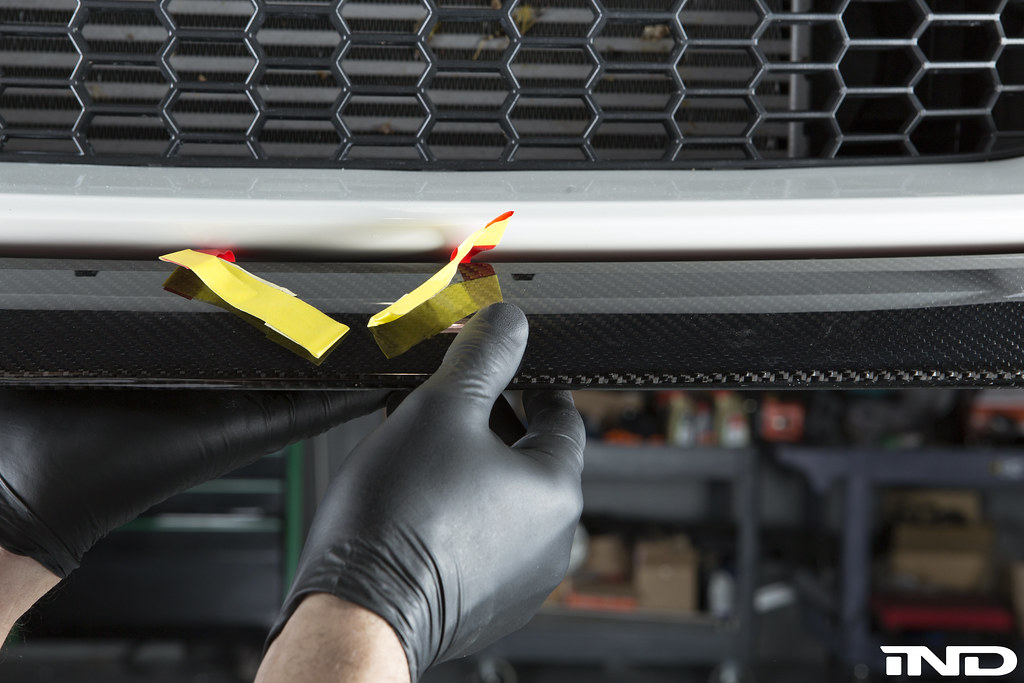 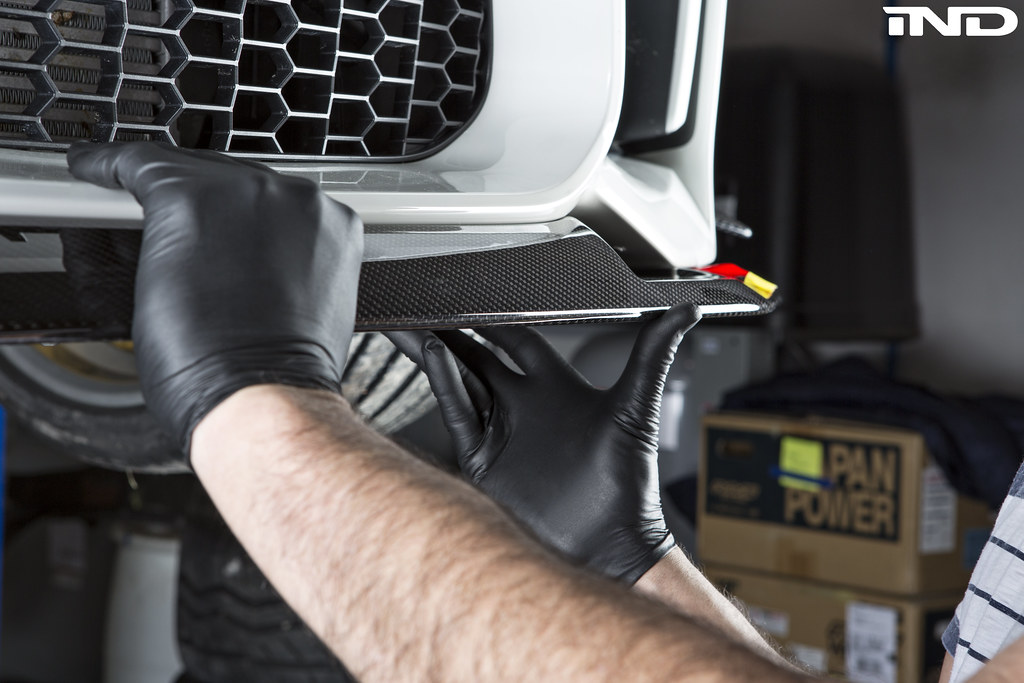 Step 8: With the lip partially attached to the bumper, you can now start threading the six screws (three per side) into the U-clip nuts attached to the under tray. 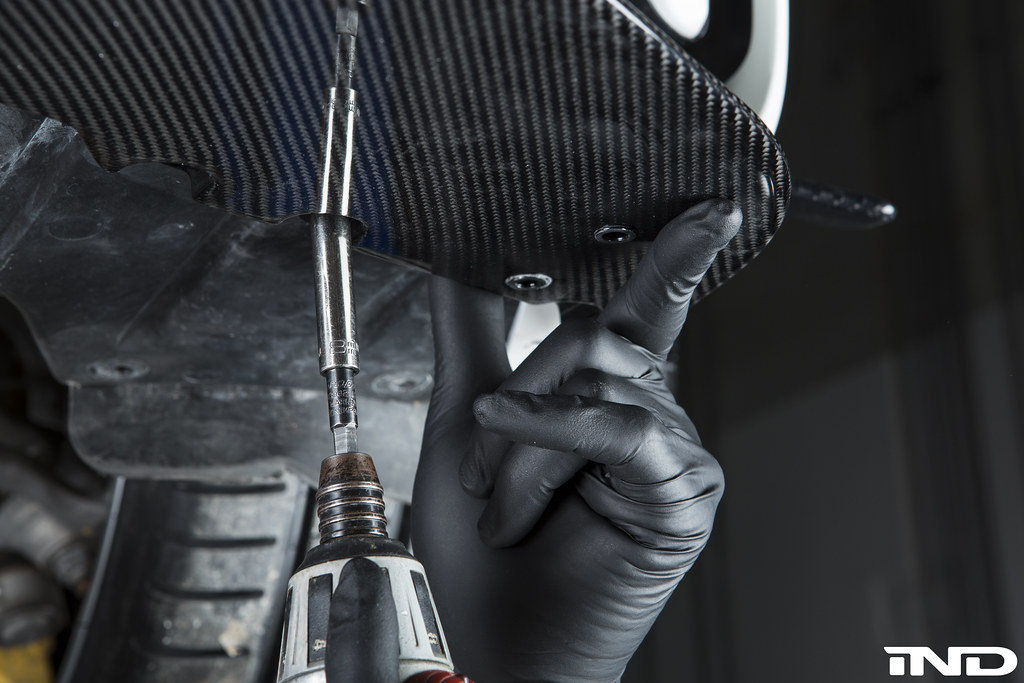 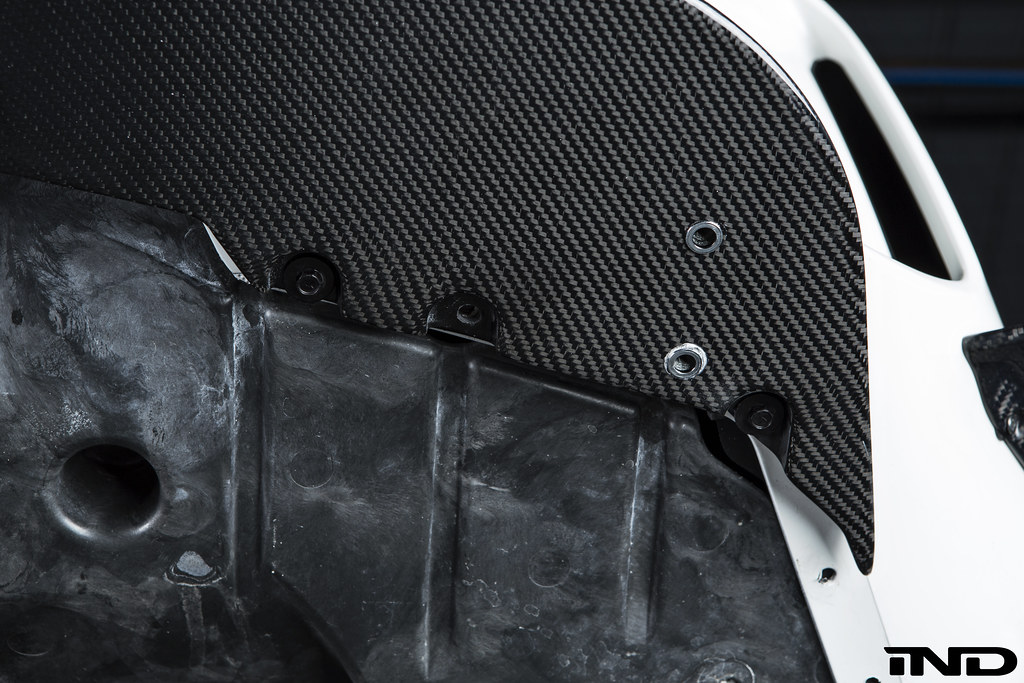 Step 9: With all the screws properly aligned, fully remove the double sided tape from the top of the lip and press the lip onto the underside of the bumper. 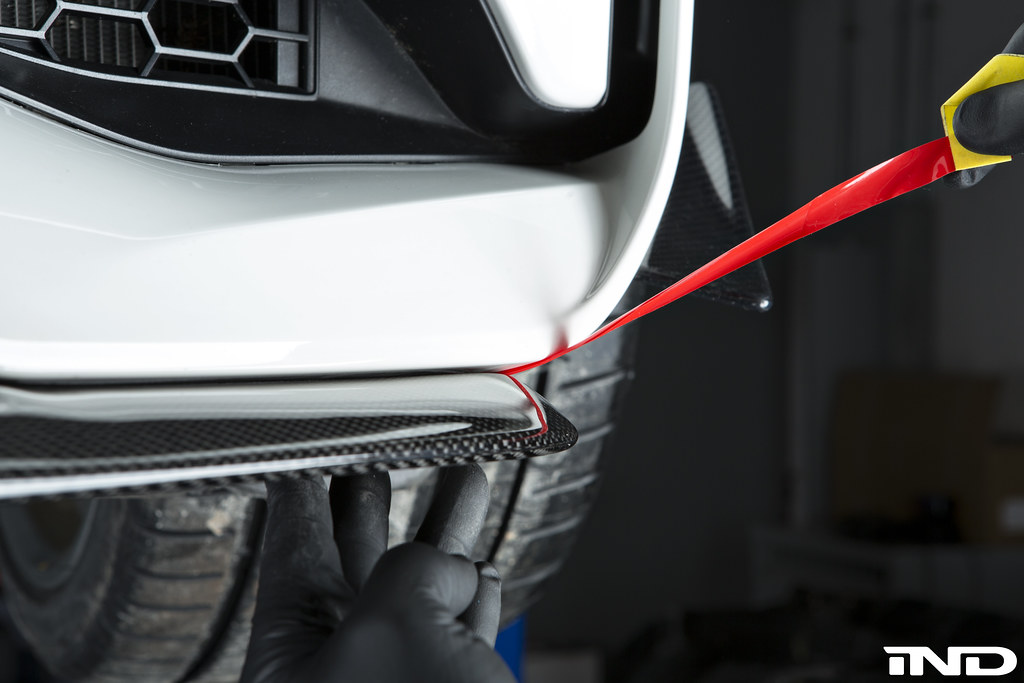 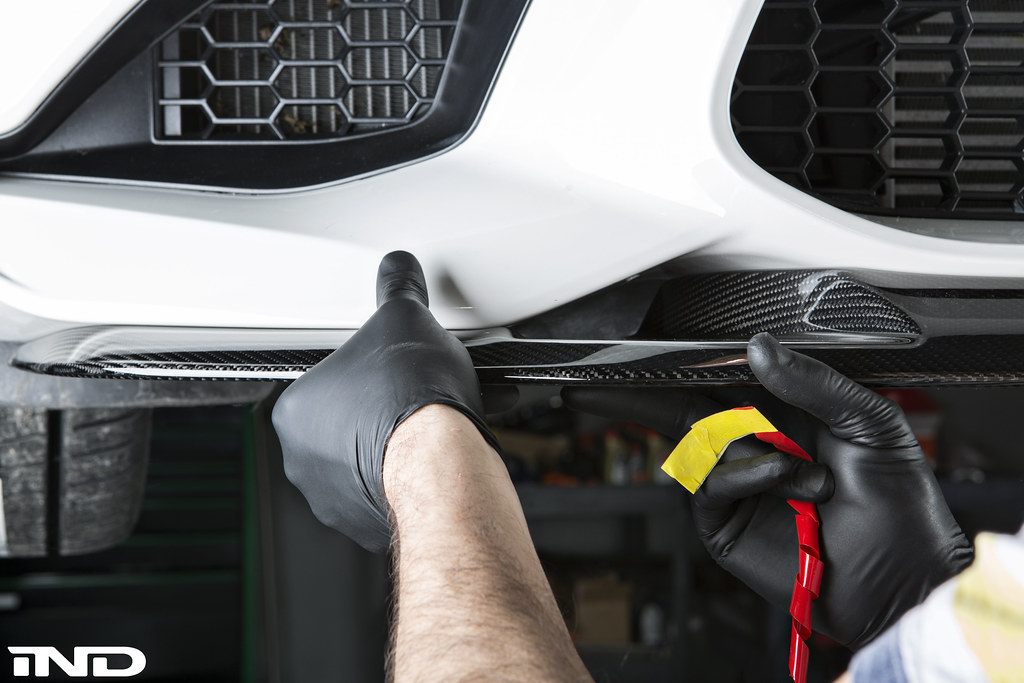 Step 10: Once the lip is fully adhered to the bumper, tighten all ten screws. 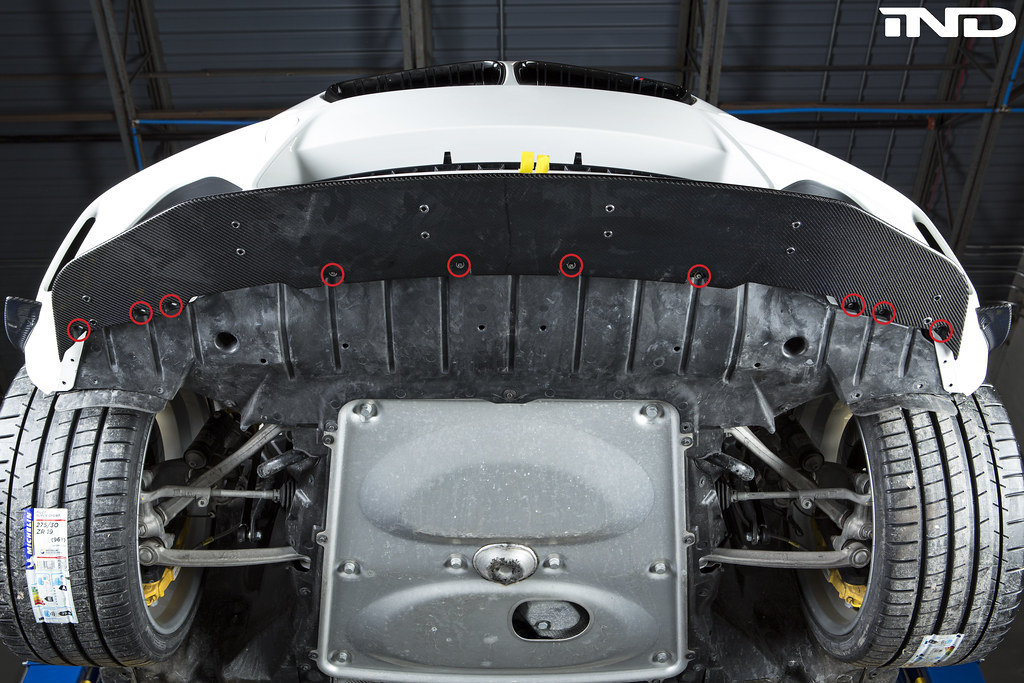 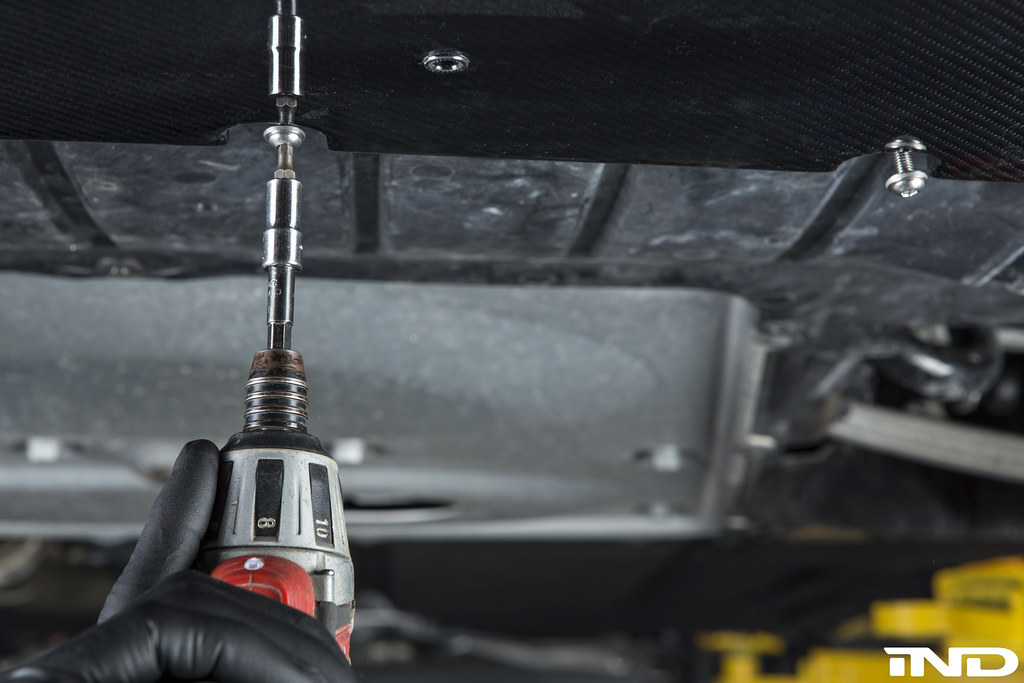 Step 11: With the lip attached, the lower splitter can now be mounted. Line the slide holes up with the corresponding nuts on the underside of the upper lip, and begin to thread the included screws into the splitter. 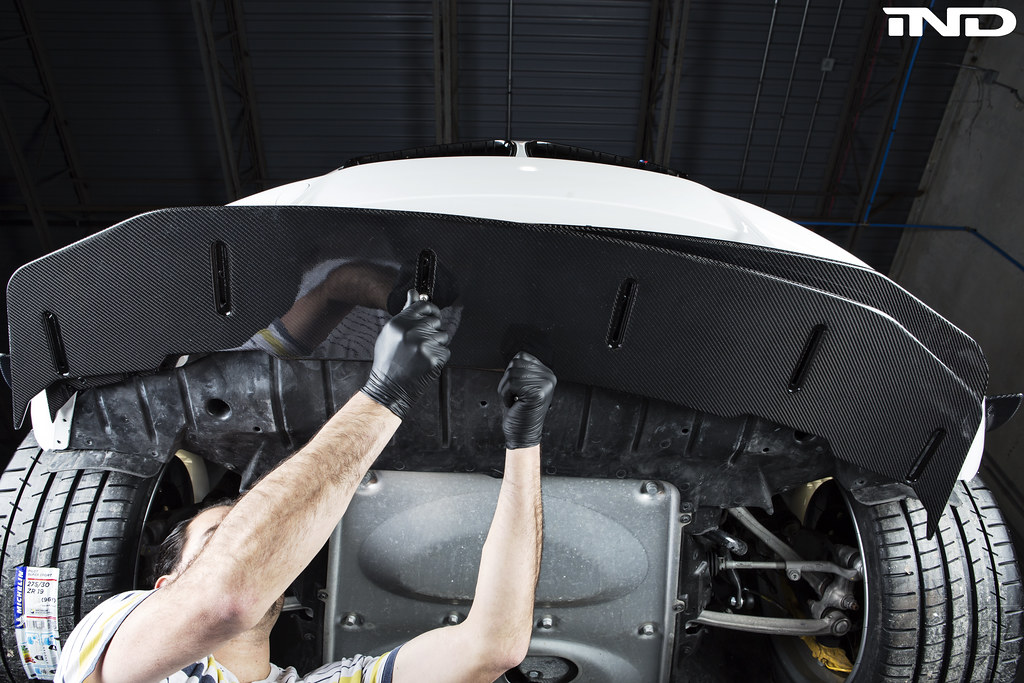 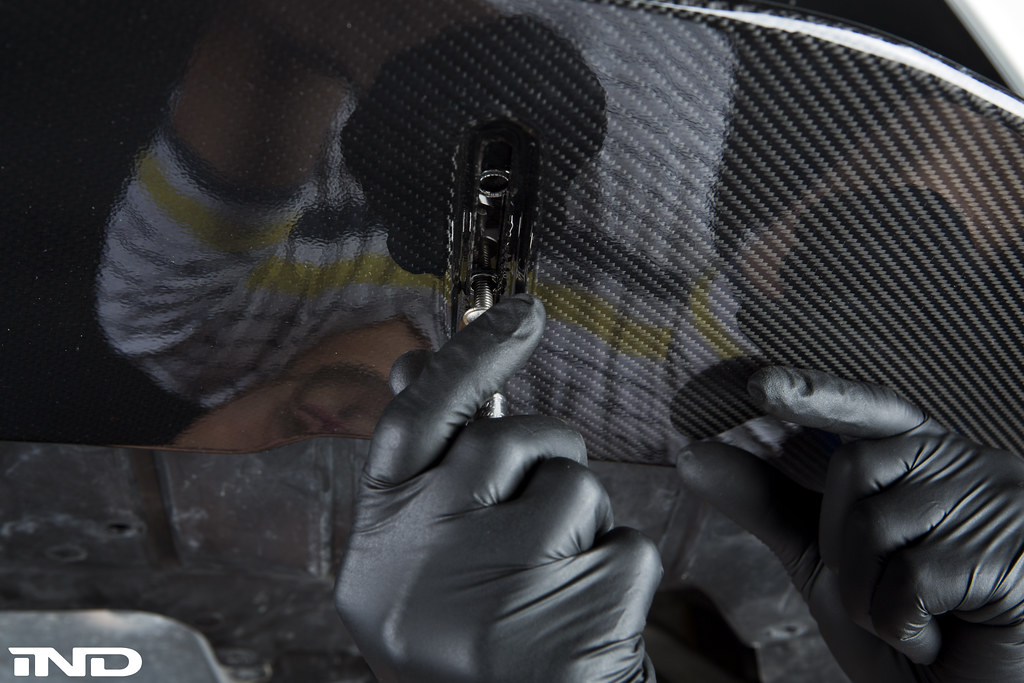 Step 12: With the splitter positioned to your desired setting, you can now tighten the twelve mounting bolts into the upper lip.  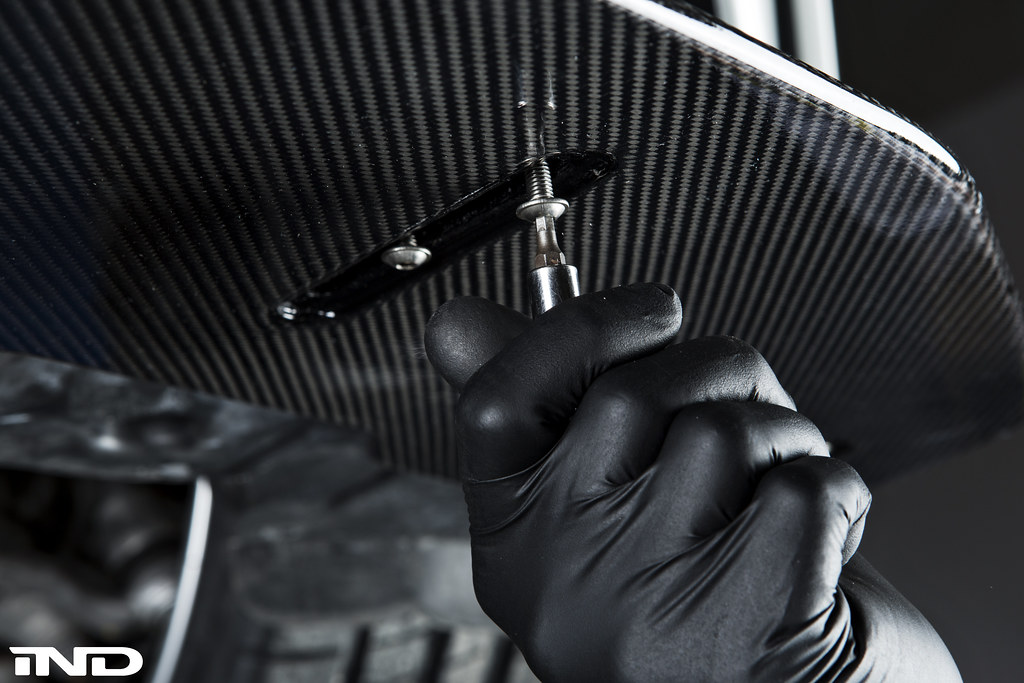 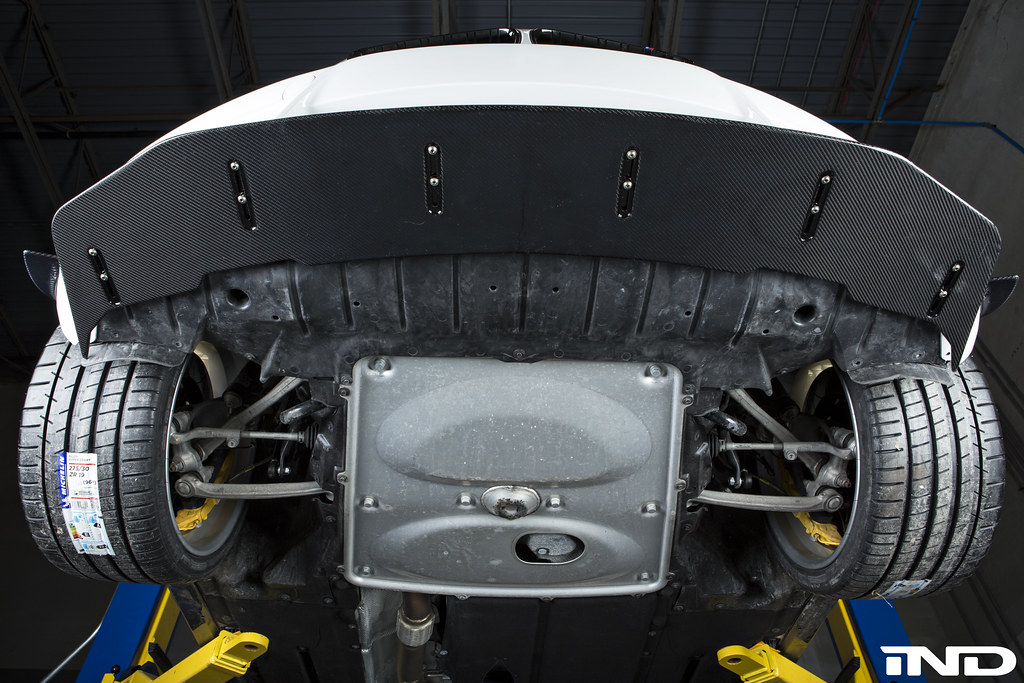 This completes the installation of the RKP F87 M2 Front Lip. NOTE: When adjusting the position of the lower splitter after installation, be sure to loosen the mounting bolts enough so that the splitter is not in contact with the upper lip during adjustment. Dragging the lower splitter against the upper lip can cause scratching and damage on the visible surface of the lower splitter.
__________________
|
| 01-06-2017, 12:05 PM | #3 | |
|
BimmerPost Supporting Vendor
9572
Rep 10,855
Posts |
Quote:
__________________
|
|
|
Appreciate
0
|
| 01-23-2017, 09:20 AM | #5 | |
|
BimmerPost Supporting Vendor
9572
Rep 10,855
Posts |
Quote:

__________________
|
|
|
Appreciate
0
|
| 08-17-2017, 12:36 AM | #7 |
|
First Lieutenant
 211
Rep 360
Posts |
So this is why I was driving the X5 loaner today. And playing with those toys.
And then I got the M2 back and nothing else mattered. Thanks to Daniel from Ramspeed for helping me source this combination. |
|
Appreciate
3
|
| 08-17-2017, 09:24 AM | #8 | |
|
Enlisted Member
 

50
Rep 39
Posts |
Quote:
I've been waiting to see this lip on a LBB!  |
|
|
Appreciate
0
|
| 08-17-2017, 11:38 AM | #9 | ||
|
BimmerPost Supporting Vendor
9572
Rep 10,855
Posts |
Quote:
 Quote:
__________________
|
||
|
Appreciate
0
|
| 08-17-2017, 10:00 PM | #10 |
|
First Lieutenant
211
Rep 360
Posts |
My personal take is that it looks stunning in some angles but doesn't look so hot when you are standing up in front of the car and looking down :P
It doesn't fill all the way round to the edge of the bumpers but that's ALSO what you get with the M4 GTS so I guess it is functionality over form. And it is stunning in carbon finish. Thanks for shipping it so well, IND It arrived in about a week in Australia from the US! |
|
Appreciate
0
|
| 08-24-2017, 06:17 AM | #11 |
|
First Lieutenant
211
Rep 360
Posts |
More pics - but it was a rainy day after I had the M Performance exhaust and diffuser installed.
|
|
Appreciate
2
IND-Distribution9572.00 pyyrat126.00 |
| 09-19-2017, 04:19 PM | #12 | |
|
BimmerPost Supporting Vendor
2866
Rep 11,374
Posts |
Quote:

__________________
|
|
|
Appreciate
0
|
| 09-21-2017, 01:21 PM | #13 |
|
BimmerPost Supporting Vendor
2866
Rep 11,374
Posts |
M2 LCI with RKP carbon upper
__________________
|
|
Appreciate
1
AndrewC198910910.50 |
| 09-11-2018, 03:05 AM | #14 |
|
Major
 
141
Rep 1,448
Posts
Drives: M2
Join Date: Oct 2008
Location: Melb, Vic, Aus
|
Hi IND,
It looks like the design of the lip may have changed a little since these photos have been posted. Can i just confirm that I have to drill 2 holes in the under side of the front bumper to accommodate the two bolts that would hold on to the front part of the reinforcement plate? See photo attached - the red circles show where 2 (more towards the front of the car) bolts go through the lip, but there are no corresponding holes in the bumper. Thanks |
|
Appreciate
0
|
| 09-11-2018, 09:09 AM | #15 | |
|
Lieutenant
158
Rep 478
Posts |
Quote:
|
|
|
Appreciate
0
|
| 09-11-2018, 09:33 AM | #16 | ||
|
BimmerPost Supporting Vendor
9572
Rep 10,855
Posts |
Quote:
 Quote:
__________________
|
||
|
Appreciate
0
|
| 04-26-2022, 02:54 PM | #17 |
|
First Lieutenant
121
Rep 344
Posts |
On step 3 says remove all the u clip but I noticed on step 4 some u clip left. Is it just the picture? Thanks
Im about to install mines next week. |
|
Appreciate
0
|
| 04-27-2022, 06:01 PM | #18 | |
|
New Member
9
Rep 28
Posts |
Quote:
|
|
|
Appreciate
1
M2RAW121.00 |
| 04-27-2022, 06:07 PM | #19 | ||
|
First Lieutenant
121
Rep 344
Posts |
Quote:
|
||
|
Appreciate
1
WongF879.00 |
| 05-03-2022, 07:04 PM | #20 | |
|
First Lieutenant
121
Rep 344
Posts |
Quote:
|
|
|
Appreciate
0
|
| 05-10-2022, 07:56 AM | #22 |
|
First Lieutenant
121
Rep 344
Posts |
Just installed my rkp lip and my undertray just shit on me while driving on highway(maybe bolts are too tigh?) anyone running aftermarket undertray on their OG M2?
|
|
Appreciate
0
|
Post Reply |
| Bookmarks |
|
|


